The essence of working with liquid wallpaper is to prepare the base, knead the mixture and apply. The article reveals the key aspects of each of these stages, selected videos with master classes with various techniques for applying liquid wallpaper and useful tips.
Preliminary preparation of walls
The advertising information states that the base does not require any preparation before applying liquid wallpaper. However, for a high-quality finish and to achieve a good aesthetic effect, such preparation is still necessary.
Base requirements
The base for liquid wallpaper must meet the following criteria:
- Comparatively flat. The texture and thickness of the wallpaper will easily hide small surface defects up to 2-3 mm, but deeper irregularities will be noticeable.
- Durable. The surface must not peel off or flake off (old plaster), otherwise the new coating may fall off along with the old one.
- Have high adhesion to adhesive mixtures. Otherwise, there will be a weak adhesion of the base and the applied composition.
It is also desirable that the walls are plain. At the very least, there should be no bright spots and patterns that can show through the decor. Some paints affect the color of liquid wallpaper, dissolving and coloring it.
Working with the base
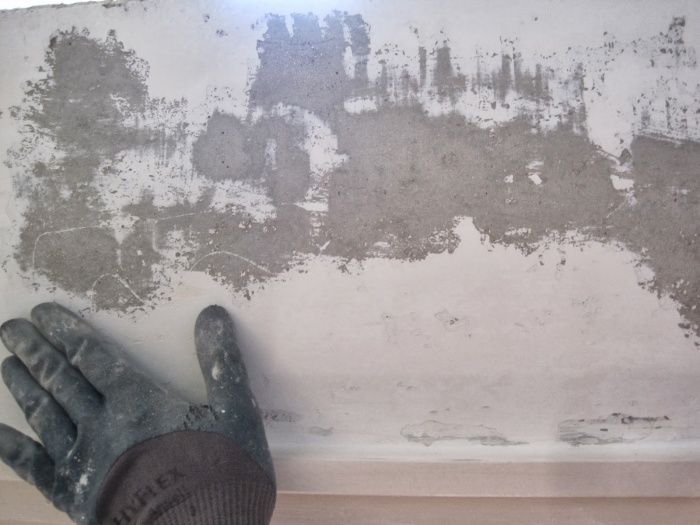
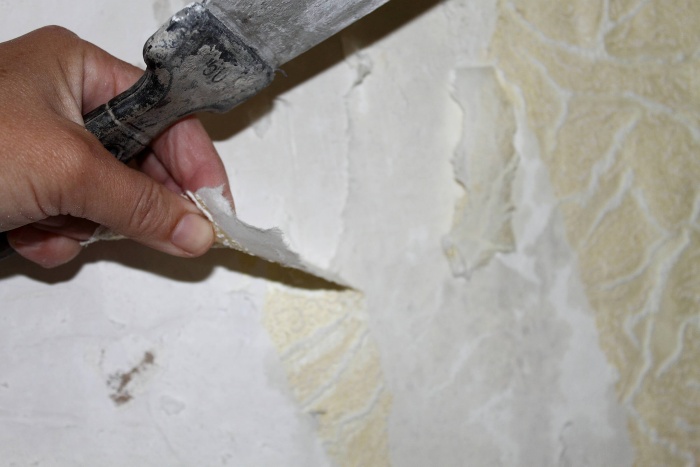
The first stage of preparation consists in removing old wallpaper and peeling layers of the finish with a spatula. If the surface is solid, it is not necessary to remove the plaster and putty. Cracks can be repaired in advance or by applying liquid wallpaper, but the second option is much more expensive.
Methods for preparing various surfaces for subsequent finishing with liquid wallpaper:
- It is advisable to remove the glossy enamel or process it with coarse sandpaper to enhance adhesion.
- Lime whitewash must be removed with a spatula, and chalk washed off.
- It is best to apply a plaster or finishing filler to drywall, such as Knauf's Fugenfuller or HP Finish. It is necessary to apply a water emulsion on top, which will protect the gypsum putty from getting wet when applying liquid wallpaper.
- It is also advisable to level the plaster with the same filler.
- Smooth surfaces such as concrete or sanded walls are primed with quartz dust. It can be made from a conventional primer mixture by adding quartz (marble) dust or clean sand sifted through a flour sieve.

Important! Mold on the walls must be removed along with the finishing layer and treated with an antiseptic.
Remove all nails, dowels and other metal objects from the walls that could cause rust stains. You can paint over these elements with white enamel.
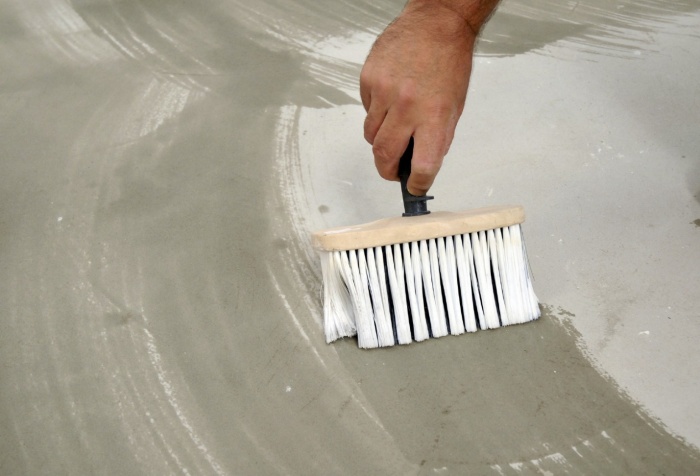
The final touch in substrate preparation is priming. Any deep penetration primer will do. You need to apply it 2 times with a time interval of 2-3 hours.
Cooking liquid wallpaper
The working mixture is prepared within 6-12 hours, so this process should be started already at the stage of priming the walls. There are two versions of the starting material on sale - in the form of a ready-made mixture and in the form of separate components in different packages. In the latter case, the contents of all packages must be poured into a container and mixed by hand until smooth, breaking the lumps.
Attention! The finished mixture can be stored for up to 1 month in a tightly sealed container or a regular plastic bag.
Do not hold the application tool parallel to the wall, but at a slight angle to it. So they apply section by section, following the smoothness of the transitions. The video shows the technique of applying liquid wallpaper with a small trowel.
Sometimes the solution of liquid wallpaper turns out to be excessively thick and poorly leveled and glued. The situation can be corrected by adding water, but not more than 1 liter per serving.
Decor secrets
The direction of the texture fibers is determined by the movement of the spatula. Masters advise to distribute each portion in short movements, twisting the fibers in a circle. When working with corners, you need to start moving from it, and then in other directions. At the end, the wall is passed with a large float dipped in water to eliminate all uneven places.
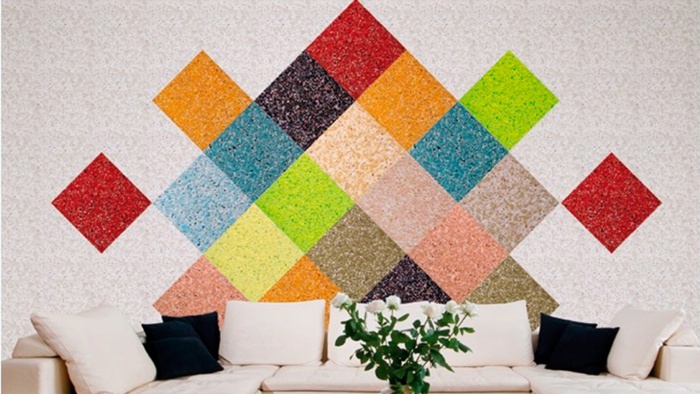
With the help of finishing from liquid wallpaper, you can create not only plain walls, but also drawings. To do this, you need to make a stencil and transfer it to the wall with a pencil. A mixture of one of the colors is applied so that it goes beyond the contour by a couple of millimeters. Then, using a narrow spatula, the mixture is removed inside the contour.
You can also use paper templates that are attached to the wall to create a drawing. After applying the mixture around them and drying, the template is carefully removed and filled with a different color.
If significant defects are noticed during the work, then this area should simply be moistened with water and removed with a spatula. Then the same mass of liquid wallpaper is again applied to this place and leveled. You can make adjustments no more than three times, after which the material loses its suitability.
Drying and varnishing
Wallpaper dries naturally within 24-48 hours. Liquid wallpaper is not afraid of drafts during drying, so it is advisable to open windows.
Liquid wallpaper does not have moisture resistance, but this indicator can be corrected. After drying, it is recommended to open the wallpaper with water-based acrylic varnish. If we are talking about finishing the kitchen or bathroom with liquid wallpaper, then varnishing is necessary. It is applied in three coats with one hour intervals to dry.
Conclusion
Working with liquid wallpaper is not difficult, but it is important to know the main principles. Tips and videos that describe in detail the decor technique will help to avoid mistakes. The application of liquid wallpaper to the ceiling is carried out according to the same principle.


