The construction of any house always includes the erection of a roof and the installation of a roof covering that provides reliable and long-term protection at any time of the year. Constant technological progress provides consumers with a wide range of roofing materials.
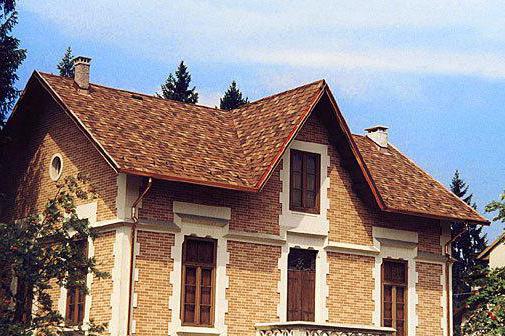
Many of them successfully combine practical and aesthetically beautiful solutions created centuries ago with the latest scientific developments. This is most clearly demonstrated by soft tiles, the installation technology and the wide possibilities of which are the result of the achievements of modern developers, and the unique appearance is the merit of the builders of medieval Europe.
Soft roof or is a modern material that is used to cover the roof and consists of fiberglass, bitumen and stone granules.
History, varieties and composition
Despite the fact that the first bituminous tiles appeared at the beginning of the last century, it received mass distribution only in the middle of the century in America. First of all, due to the shape with three petals, as a result of which almost every second house was covered with such a roof.
An interesting fact is connected with the name. The installation technology in all countries is almost the same, but in America the word “shingle” is used more, by analogy with wooden boards for roofing, and in Europe, as before, “tile”.
Modern production technology, which includes the use of tear-resistant fiberglass fabric, modified, with additives from polymers of bitumen and basalt coating, has led to the creation of a universal roofing material.
Advantages, disadvantages and scale of production
Any type of roofing has its pros and cons. Is no exception and soft tiles. Installation technology, high performance and a wide range of colors distinguish it from other coatings.
Among the main advantages are:
lack of moisture absorption, which automatically eliminates destructive processes and provides reliable waterproofing;
resistance to any temperatures;
not exposed to ultraviolet radiation, in particular the absence of melting at high temperatures;
good tolerance of almost all mechanical influences;
lightness and flexibility.
One, but a significant drawback is the total cost of the work. When soft tiles are used for covering, the installation technology includes a mandatory solid base, which is usually made of plywood or OSB boards. Even if a board is used, very stringent requirements are imposed on it in terms of thickness and location on the surface. Annual rings must be directed downwards.
Today, production is carried out in many countries of the world, mainly in America and Russia. Shinglas (TechnoNIKOL), Ruflex, Doke and Tegola (together with Italy) stand out from domestic manufacturers, occupying more than 80% of the market.
Terminology and materials
The technology of each manufacturer has its own nuances. But the basic steps are the same for everyone. In order to better understand the technical information that is contained in all instructions, it is necessary to understand both the terms used and the main materials used.
Any tile element consists of several conditional parts:
adhesive strip;
petal.
visible surface;
places of overlap;
Roofing usually includes:
gable and cornice overhangs;
valleys or internal corners at the junction of two slopes;
ribs and fractures, which are the junctions of two different surfaces.
The laying of the coating is carried out after the preparation of the roof structure, including hydro- and vapor barrier, insulation, if necessary, as well as the obligatory space for ventilation.
The technology of installation of soft tiles involves the use of several mandatory materials:
tiles ordinary and universal starting, used for cornices and skates;
lining base (carpet), which can be of several types;
lining base for the valley;
metal strips for overhangs and valleys, as well as for adjoining, for example, to a pipe;
ventilation elements;
mastic based on bitumen and polymer additives, which allows you to work without preheating;
roofing nails.

Roof base preparation and ventilation
When soft tiles are used for roofing, do-it-yourself installation technology requires strict adherence to all the steps contained in the instructions for use.
The first step is always to prepare the roof surface for tiling. To do this, you can use plywood, OSB boards or edged boards, which are best fixed with self-tapping screws. The thickness of the base is determined by the distance between the rafters of the roof structure and is calculated according to the table below.
| Distance between rafters, mm | OSB, mm | Plywood, mm | Board, mm |
| 300 | 9 | 9 | - |
| 600 | 12 | 12 | 20 |
| 900 | 18 | 18 | 23 |
| 1200 | 21 | 21 | 30 |
| 1500 | 27 | 27 | 37 |
A gap of up to 5 mm is left for the board. In cold weather, a gap of at least 3 mm is required for possible expansion under the influence of temperature in summer. The resulting surface should be smooth, hard and solid.
Properly made ventilation has an air supply, space above the insulation and exhaust ducts. In this case, the area of the outlet openings should exceed the incoming ones by 15%. Often the cornices are sewn up with finishing material, without holes for inflow, which is a gross violation.
Installation and backing
To demonstrate the main stages of installation, for example, the Shinglas soft tile installation technology, which occupies more than 40% of the Russian market, is used.
On the prepared base around the entire perimeter, special metal cornices, often called drips, are fixed. They are installed with an overlap of up to 50 mm and fixed in zigzag increments of up to 150 mm. At the joints, the pitch is reduced to 30 mm.
After that, the installation of the lining base begins, which has slight differences for slopes with different angles.
For valleys and cornice overhangs, a rolled material is used, coated on one side with an adhesive composition, which is attached to the roof surface and must be installed around the entire perimeter of the cornices, not reaching the 30 mm bar.
In valleys, it is laid 500 mm on each side, along the eaves along the entire width of the overhang and an additional 600 mm inside the roof. The horizontal overlap is 100 mm, vertical - 150 mm. To increase reliability, the base is fixed around the perimeter with nails in increments of no more than 250 mm.
For the rest of the roof surface, a conventional lining base is used, which is laid from the bottom up parallel to the eaves and fixed with nails. Places of overlaps are additionally treated with mastic of at least 100 mm.
On the ribs, ridges and fractures of the slopes, the base is laid 500 mm on each side, that is, the entire width. For gables and along wall connections, only half a roll of 500 mm is used.
At the end of this stage, frontal strips are installed that protect against wind and moisture. They are fixed with nails with a pitch of no more than 150 mm.
Valley protection installation
The valley is the most vulnerable point in the entire structure. In addition, during the repair it is necessary to disassemble two roof slopes at the same time. Therefore, when installing tiles, special attention is paid to it.
After installing the entire lining layer, it is necessary to separately protect the valley. For this, a special lining 1000 mm wide is used, which is laid 500 mm on each side over the already fixed base with an offset of up to 30 mm.
The edges around the entire perimeter are smeared with mastic with a width of at least 100 mm. After gluing, the entire perimeter is additionally fixed with nails no further than 30 mm from the edge in increments of 250 mm.
If it is not possible to make the base solid, the overlap width should be at least 300 mm with the obligatory smearing of the entire area with mastic. It must be placed as close to the top as possible.
Preparation for laying and installation of the starting strip
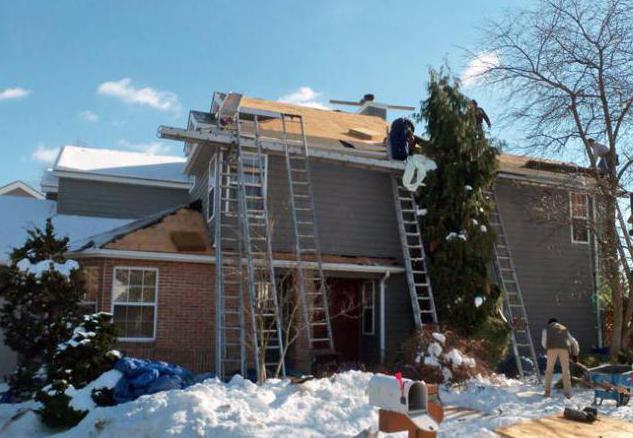
Soft roofing has its own subtleties, caused by the structure and features of production. Several packs are used at the same time to avoid concentration of one shade. For the same reason, when soft tiles are used, installation technology in winter requires only a few packs that are taken from a warm place.
It is recommended to apply a mesh to the lining base with a masking cord, which will facilitate the installation process. The horizontal distance corresponds to the size of 5 rows of tiles, the vertical distance is 1000 mm or the dimensions of one shingle. This will allow you to quickly align or simplify the task if there is an additional element in the roof.
Installation starts from the bottom from the center of the slope. For the starting strip, a special universal element or an ordinary ordinary tile without petals is used. They are installed on an adhesive base on the reverse side and fixed with 4 nails around the perimeter at a distance of no more than 30 mm. If a trimmed ordinary tile without an adhesive base is used for the start, it must be smeared with mastic.
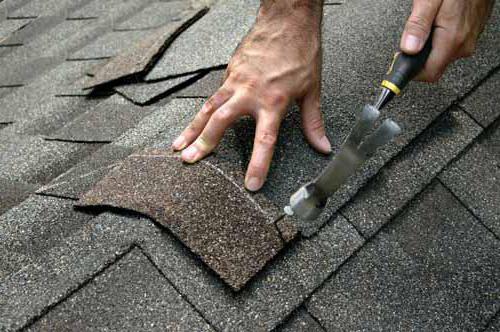
Installation of tiles
Installation is carried out with a cutout down with a 10 mm indent from the starting element. The tile is fixed with nails along the allocated place. For slopes with an angle of up to 45 °, 4 nails are used, which are fastened 25 mm from the edge and visible area, which allows you to fix 2 elements at the same time. For 90°, the number of nails is doubled. Depending on the shape of the petal, different styling options are possible, allowing you to create both a chaotic pattern and an orthogonal one.
In the valleys, the location of the gutter is preliminarily marked, from which it retreats 300 mm in each direction, the zone where the nails do not break through is determined. The tile is cut to the required size and must be fixed with nails and mastic. The upper corner closest to the valley is cut off to rebound the water.
On the gables, the tiles are fixed not reaching 10 mm to the edge with the obligatory cutting of the upper corner, as in the valley. Fixation on the edge is carried out using mastic, which is applied with a layer of at least 100 mm, and nails.
Pipes, ventilation and skates
For fastening to the pipe, a lining base for the valley or metal with anti-corrosion treatment is used. The material is brought into the pipe by 300 mm and into ordinary tiles by 200 mm with the obligatory coating of the entire area with mastic. After that, the tile is fixed on it, forming a gutter 80 mm wide. The top is closed with metal strips, after which it is treated with a sealant.
Ventilation or other technological elements are mounted using special elements fixed on the roof surface with mastic and nails. After that, tiles are attached around them.
The ridge is closed with a special profile, which is fixed with nails, then, together with the ribs, is covered with ridge tiles of the same color. To obtain it, you can cut an ordinary private into three parts. Installation is carried out from the bottom up with an overlap of up to 50 mm and is fixed with 4 nails.
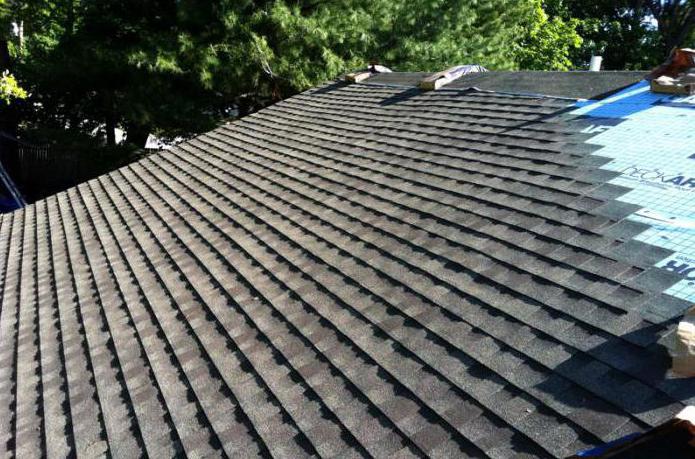
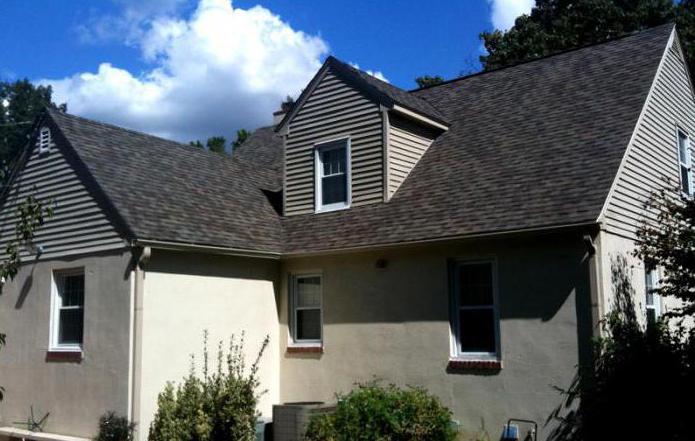
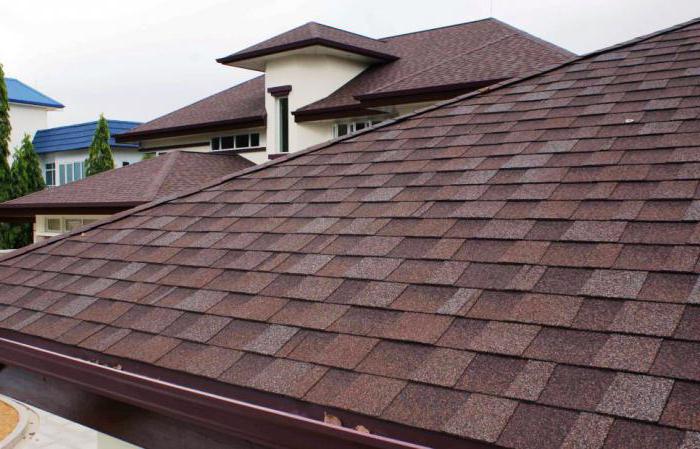
As you can see, soft tiles, the installation technology in the photo above and below confirms this, is a practical and convenient material that is deservedly popular.
Features of tiles from different manufacturers
The technology of installation of a soft tile "Tegola" practically does not differ from "Shinglas". The main difference is in the form and name of the elements used during installation.
Another manufacturer, Doke, is distinguished by an integrated approach to all roofing materials, which, in addition to the coating, includes insulation, vapor barrier and ventilation ducts. The technology of installation of soft tiles "Doc" has all the main stages inherent in the first two manufacturers, differing in the absence of a special coating for problem areas and individual color solutions.
Whichever tile is chosen, all of them are distinguished by high quality, affordable cost, warranty and detailed instructions that answer all questions during installation and operation.


